How to Debadge a Car With Wd 40? Easy Steps for a Flawless Finish
How to debadge a car with Wd 40? Spray WD-40 generously on the badge and surrounding area, letting it soak for 5–10 minutes to loosen the adhesive. Use dental floss or fishing line to gently saw behind the badge. Peel it off carefully, then wipe away leftover residue with WD-40 and a clean microfiber cloth….
How to debadge a car with Wd 40? Spray WD-40 generously on the badge and surrounding area, letting it soak for 5–10 minutes to loosen the adhesive. Use dental floss or fishing line to gently saw behind the badge. Peel it off carefully, then wipe away leftover residue with WD-40 and a clean microfiber cloth.
But you might be wondering—how do you do it without damaging your paint? That’s where WD-40 comes in. You’ll learn a simple, step-by-step way to debadge your car using WD-40, saving you time and money while keeping your car’s finish intact.
Keep reading to discover the easy tricks that will make your car stand out for all the right reasons.
How to Debadge a Car With Wd 40?
Why Debadge Your Car
Removing badges can give your car a cleaner look and make it unique. WD-40 helps loosen the glue, making badge removal easier and less damaging. This simple method saves time and effort without special tools.
Improve Your Car’s Appearance
Badges can make a car look busy or cluttered. Removing them creates a cleaner, smoother look. This helps your car stand out with a simple style. Many people prefer a sleek, badge-free finish for a modern touch.
Protect Your Privacy
Car badges show the make and model. This tells others about your car’s value and age. Removing badges keeps this information private. It helps avoid unwanted attention from thieves or curious onlookers.
Increase Resale Appeal
Some buyers like badge-free cars. It suggests the owner cared about the car’s look. A clean exterior can attract more buyers. This may help sell your car faster and sometimes for a better price.
Personalize Your Vehicle
Debadging lets you change how your car looks. You can create a unique style that fits your taste. It shows your personality and makes your car truly yours. Many enjoy customizing their ride this way.
Remove Old Or Damaged Badges
Badges can fade or peel over time. Old badges may lower your car’s visual appeal. Taking them off refreshes your car’s exterior. It gives your vehicle a newer, cleaner look without extra cost.
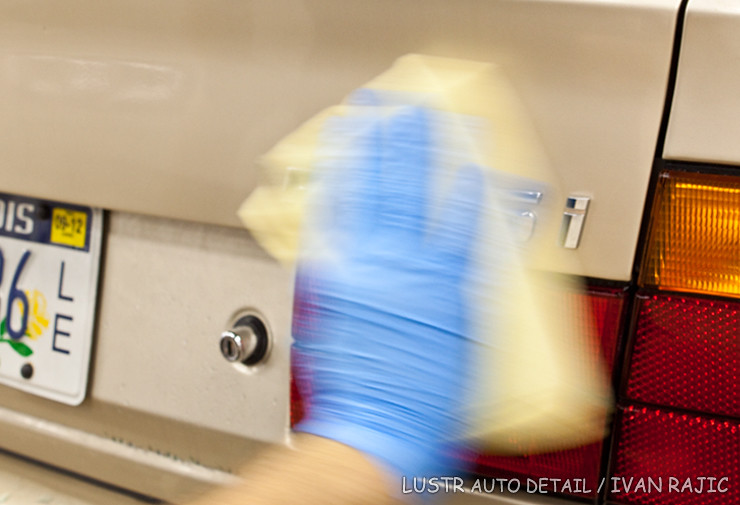
Credit: www.detailedimage.com
Tools Needed For Debadging
You will need WD-40, a plastic card, and a soft cloth to start debadging your car. These simple tools help remove badges without scratching the paint. Patience is key for a smooth, clean finish.
Wd-40 Spray
WD-40 is the key product for debadging. It loosens the glue under badges. Spray it evenly on the badge and wait a few minutes. This makes removing badges easier and safer for your car’s paint.
Plastic Pry Tools
Plastic pry tools help lift badges without scratching. They are gentle on paint and trim. Avoid metal tools as they can cause damage. Use these tools to carefully separate the badge from the car surface.
Microfiber Cloth
A microfiber cloth cleans the area before and after debadging. It removes dirt and sticky residue. Use it with WD-40 or a gentle cleaner to keep the paint safe and shiny.
Hair Dryer Or Heat Gun
Heat softens adhesive under the badge. Use a hair dryer or heat gun at low heat. Warm the badge for about one minute. This helps the badge come off more easily without damage.
Adhesive Remover
After removing the badge, some glue may stay behind. Use an adhesive remover to clean the surface. Choose a product safe for car paint. Apply it with a cloth and wipe gently until clean.
Preparing The Car Surface
Start by cleaning the car surface around the badge. Use soap and water to remove dirt and grease. This helps WD-40 work better for easy badge removal.
Cleaning The Area Around The Badge
Start by washing the car surface around the badge. Use soap and water to remove dirt and grime. This step helps WD-40 work better. Dry the area completely with a clean cloth. A clean surface prevents scratches during debadging.
Protecting The Car Paint
Apply painter’s tape around the badge edges. This tape shields the paint from scratches. It creates a safe zone for using tools. Press the tape firmly to avoid gaps. Protecting the paint keeps your car looking good.
Checking The Temperature
Make sure the car surface is cool to touch. Avoid working under direct sunlight. Heat can make the adhesive stick harder. A cool surface helps WD-40 soak into the glue. It makes badge removal easier and safer.
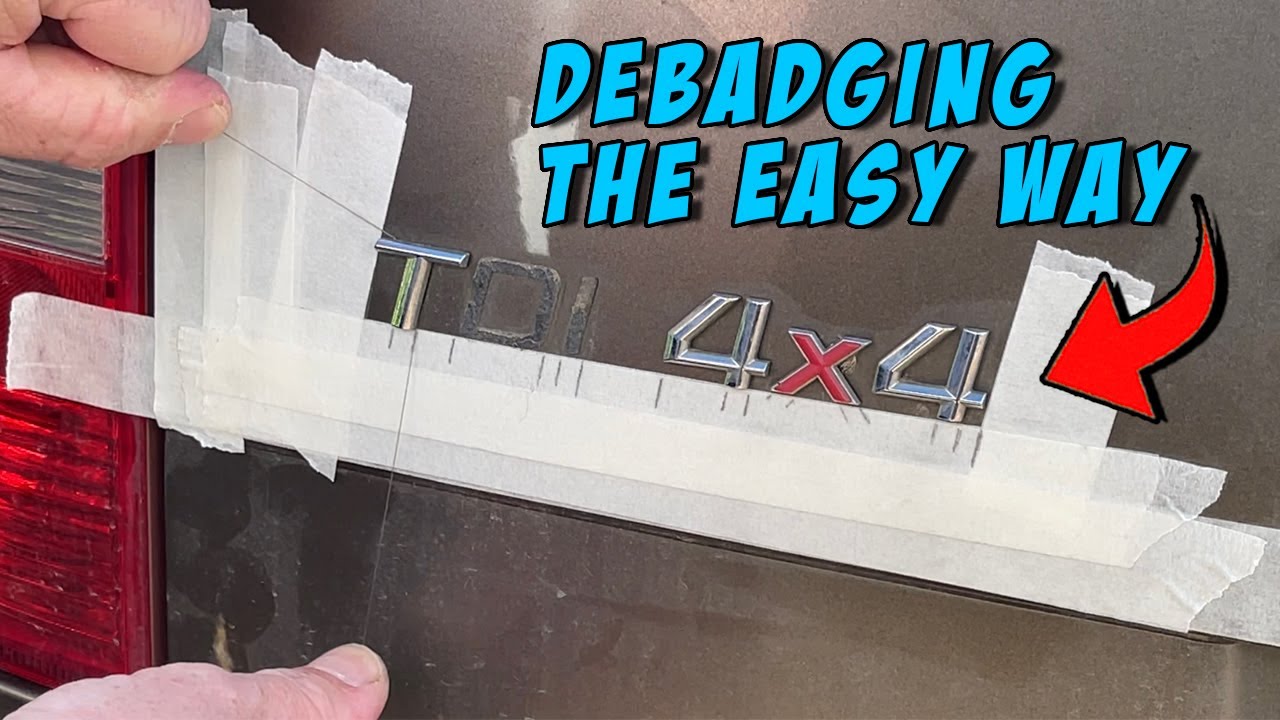
Credit: www.youtube.com
Step-by-step Debadging With Wd-40
Removing car badges can refresh your vehicle’s look. WD-40 helps make this task easy and safe. Follow this step-by-step guide for smooth debadging without damage.
Take your time. Each step prepares your car for the next. WD-40 softens glue and protects paint. Let’s begin.
Spray Wd-40 On The Badge
Start by spraying WD-40 directly onto the badge. Cover all edges and the surface. Wait five minutes to let it soak in. This loosens the glue behind the badge.
Gently Pry The Badge Off
Use a plastic pry tool or your fingernail. Slowly lift one corner of the badge. Pull carefully to avoid scratching the paint. Stop if you feel strong resistance.
Remove Glue Residue
Spray more WD-40 on leftover glue. Let it sit for a few minutes. Use a soft cloth to rub off the sticky residue. Repeat until the area is clean.
Clean And Dry The Area
Wash the spot with soap and water. Rinse thoroughly to remove any WD-40. Dry the area with a clean towel. Your car’s surface is now smooth and ready.
Post-debadging Care Tips
After removing badges with WD-40, the car needs special care. This care keeps the paint safe and the surface smooth. Proper steps help avoid marks or damage. These tips improve the look and protect your car.
Clean The Area Thoroughly
Use a soft cloth and mild soap to clean the spot. Remove any leftover glue or oil from WD-40. Cleaning stops dirt from sticking to the paint. Dry the area fully before any next step.
Polish To Restore Shine
Apply a gentle polish with a soft cloth. This removes small scratches and evens out the surface. Polishing helps bring back the car’s original shine. Use circular motions and light pressure only.
Wax For Long-lasting Protection
Wax the area to protect the paint from weather. Wax seals the surface and blocks dirt and water. Apply a thin layer and buff with a clean cloth. This step keeps your car looking fresh longer.

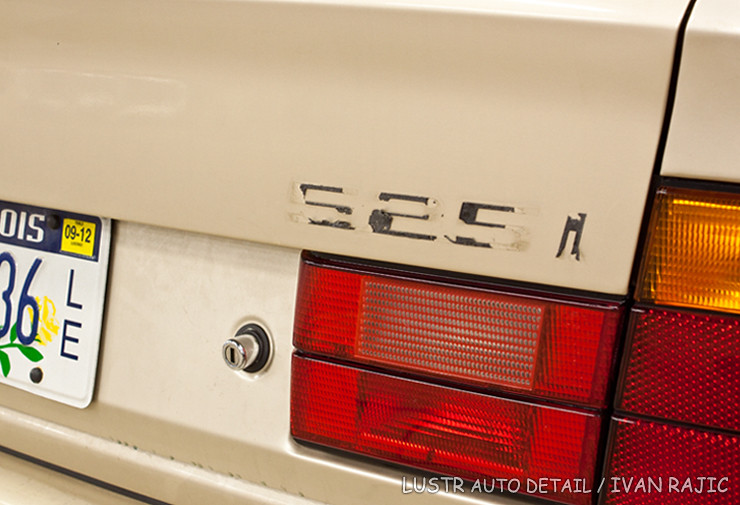
Credit: www.detailedimage.com
Frequently Asked Questions
How Does Wd-40 Help In Debadging A Car?
WD-40 loosens adhesive and dirt, making car badges easier to remove without damage.
Can Wd-40 Damage Car Paint During Debadging?
No, WD-40 is safe for paint when used carefully with gentle tools.
What Tools Do I Need Along With Wd-40 For Debadging?
Use a plastic scraper, microfiber cloth, and WD-40 to remove badges cleanly.
Conclusion
Debadging your car with WD-40 is simple and safe. Spray the WD-40 on the badge and let it sit for a few minutes. Then, gently peel off the badge using a plastic tool. Clean any leftover glue with the WD-40 and a cloth.
This method avoids damage to your car’s paint. Take your time and work carefully. Now, your car looks cleaner and smoother. Try this easy way next time you want to debadge. It saves money and effort too.
Read More
- 5 Best Oil for Honda Civic: Top Synthetic Choices for Engine Protection
- 5 Best Oil Filter for Audi Q5: Top Picks for Ultimate Engine Protection
- Can You Use Tire Shine on Plastic Trim? Expert Tips Revealed

My name is Max langon and I am the founder of automothrone.com website. From this website, you will get automotive related information