How to Remove Stickers from Car Glass? Quick Solutions
Are you tired of trying to scrape off those stubborn stickers from your car glass? You’re not alone. Many car owners find themselves frustrated with adhesive residue that just won’t budge. Whether it’s a parking permit, a dealership sticker, or a decal from a memorable road trip, these stickers can become a real eyesore over…
Are you tired of trying to scrape off those stubborn stickers from your car glass? You’re not alone.
Many car owners find themselves frustrated with adhesive residue that just won’t budge. Whether it’s a parking permit, a dealership sticker, or a decal from a memorable road trip, these stickers can become a real eyesore over time. But don’t worry! In this guide, we’ll reveal simple and effective methods to help you remove them without damaging your car’s glass.
Imagine driving with clear, spotless windows that let you enjoy the view without distractions. Curious to know how? Read on, and you’ll discover techniques that are not only easy but also surprisingly satisfying. Prepare to transform your car’s appearance and reclaim your view in no time!
Credit: www.reddit.com
How to Remove Stickers from Car Glass?
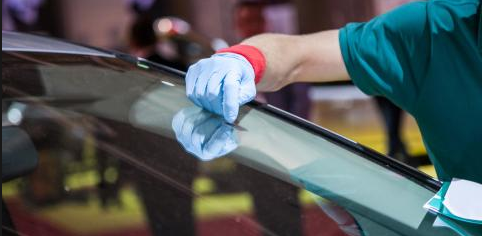
Essential Tools And Materials
Removing stickers from car glass requires specific tools and materials for a smooth process. A plastic scraper and adhesive remover help avoid scratches. Clean the area with warm, soapy water to finish the job neatly.
Removing stickers from car glass can be a tricky task if you’re not equipped with the right tools and materials. But don’t worry, with a little preparation, you can tackle this job efficiently and safely. Gathering the right equipment not only makes the process easier but also helps you avoid scratching or damaging the glass. Let’s dive into the essentials you need for this task.
Razor Blade Or Plastic Scraper
A razor blade or plastic scraper is your best friend when it comes to peeling off stubborn stickers. The razor blade is perfect for flat surfaces, but make sure it’s a new blade to avoid scratches. If you’re worried about potential damage, a plastic scraper is a safer alternative and works effectively on more delicate areas.
Adhesive Remover
An adhesive remover can work wonders on any leftover sticky residue. Products like Goo Gone or WD-40 are popular choices. They dissolve the adhesive, making it easier to wipe away without excessive scrubbing. Always test it on a small area first to ensure it doesn’t harm your glass or tint.
Microfiber Cloth
A microfiber cloth is essential for cleaning up the dissolved adhesive. It’s soft enough to prevent scratches but effective in picking up residue. Use it to gently buff the area after applying the adhesive remover.
Spray Bottle With Soapy Water
Fill a spray bottle with warm soapy water to help loosen the sticker. Spray it generously over the sticker and let it sit for a few minutes. This step makes it easier to lift the sticker off the glass without tearing.
Hair Dryer
A hair dryer can be surprisingly useful for removing stickers. By applying heat, you soften the adhesive, making it easier to peel off the sticker. Hold the dryer a few inches away and move it in a circular motion over the sticker.
Patience And A Steady Hand
Never underestimate the power of patience and a steady hand. Rushing through the process may lead to scratches or uneven removal. Take your time, and remember, persistence pays off. By now, you might be wondering, do you have all these tools at home, or do you need to make a quick trip to the store? Preparing in advance will save you time and hassle. So, gather these essentials, and you’ll be well on your way to achieving spotless car glass, free of any sticky reminders of the past.
Credit: www.youtube.com
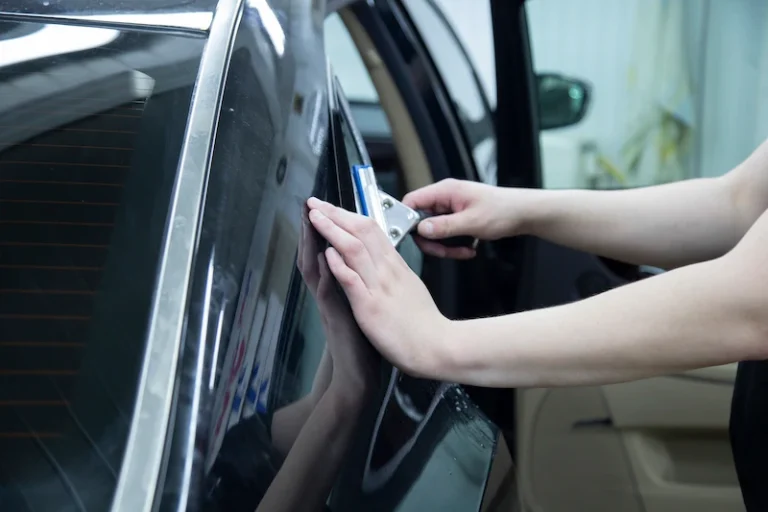
Preparing The Glass Surface
Preparing the glass surface is crucial for removing stickers effectively. A clean surface ensures better adhesion for removal tools. This step minimizes the risk of scratching the glass.
Cleaning The Glass
Start by cleaning the glass with warm soapy water. Use a microfiber cloth to gently wipe the surface. This removes dirt and dust that can cause scratches.
Drying The Surface
After cleaning, dry the glass thoroughly. Use a clean towel to absorb moisture. A dry surface helps in better sticker removal.
Inspecting For Damage
Check the glass for any existing damage. Cracks or chips can complicate sticker removal. Note these areas to avoid further harm.
Gathering Necessary Tools
Prepare the tools you will need. A plastic scraper or razor blade works well. Ensure these tools are clean and free of rust.
Using Heat For Easy Removal
Sticker removal from car glass can be a daunting task. Heat is a useful ally in this process. It loosens adhesive, making stickers easier to peel off.
Using A Hair Dryer
A hair dryer is a convenient tool for sticker removal. Set it to medium heat. Aim at the sticker for 30 seconds. The heat softens the adhesive. Peel the sticker gently from the edge.
Applying Hot Water
Hot water is another effective method. Soak a cloth in hot water. Press it against the sticker for a minute. The heat and moisture weaken the adhesive. Carefully peel the sticker away.
Using Steam
Steam offers a gentle yet effective solution. Use a steam cleaner if available. Direct the steam at the sticker. The heat loosens the grip of the adhesive. Slowly peel the sticker off, starting at one corner.
Safety Precautions
Always handle heat sources with care. Avoid overheating, which may damage glass. Keep your hands at a safe distance. Ensure the glass surface is not too hot to touch.
Applying Solvents For Stubborn Residue
Stickers on car glass can be annoying. They leave behind stubborn residue. Sometimes, simple cleaning methods won’t work. This is where solvents help. They break down the sticky glue. You’ll need the right tools and technique. Let’s explore how to use solvents effectively.
Choosing The Right Solvent
Different solvents work on different residues. Some common options are rubbing alcohol, vinegar, or acetone. Test a small area first. Ensure it doesn’t harm the glass. Rubbing alcohol is gentle and effective. Acetone works well but is strong. Use it with caution. Vinegar is a natural choice. It’s safe and easily available.
Preparing The Surface
Before applying solvents, clean the glass. Remove any loose sticker bits. Use a soft cloth for this. Ensure the glass is dry. This helps the solvent work better. A clean surface ensures no scratches. Be gentle during this step.
Applying The Solvent
Soak a cloth or paper towel in your chosen solvent. Gently rub the sticker residue. Apply light pressure for a few minutes. This helps dissolve the adhesive. You may need to reapply the solvent. Persistent residue might require extra effort. Be patient during the process.
Using A Razor Blade For Assistance
Sometimes, a razor blade helps. Use it carefully. Hold the blade at a 45-degree angle. Gently scrape the remaining residue. Ensure not to scratch the glass. Keep the blade sharp and clean. This makes the task easier.
Cleaning And Finishing Up
Once the residue is gone, clean the glass again. Use a glass cleaner or soapy water. Wipe with a clean cloth. This removes any solvent traces. Ensure the glass is streak-free and clear. Now, your car glass looks fresh and clean.
Cleaning And Polishing The Glass
Cleaning and polishing car glass after sticker removal is essential. It ensures a clear view and a spotless finish. Stickers leave residue, making glass appear dirty. Proper cleaning restores shine and clarity. This guide will help you achieve a sparkling glass surface.
Use A Glass Cleaner
Start with a quality glass cleaner. Spray it directly on the glass. Let it sit for a few seconds. This helps loosen any remaining adhesive. Wipe with a microfiber cloth in circular motions. This removes dirt and residue without scratching the glass.
Scrub Gently With A Soft Pad
Use a non-abrasive pad for stubborn spots. Gently scrub the area to lift residue. Avoid using too much pressure. It could scratch the glass. A gentle touch ensures a clear, smooth surface.
Rinse With Clean Water
Rinse the glass with clean water. This removes any cleaner left behind. Use a clean cloth to dry the glass. This step prevents water spots from forming. A spotless surface is key for clarity.
Polish For A Streak-free Shine
Finish with a glass polish. Apply a small amount on a soft cloth. Buff the glass with circular motions. This enhances shine and removes streaks. A polished glass looks new and clear.
Credit: www.tiktok.com
Frequently Asked Questions
How To Remove Stickers From Car Glass Easily?
Use a hairdryer to heat the sticker for easy removal. Peel slowly with a plastic scraper. Apply rubbing alcohol or adhesive remover to clear residue, then wipe clean with a cloth. Repeat if necessary for stubborn spots. Avoid sharp tools to prevent scratching the glass.
What Is The Easiest Way To Remove A Sticker From Glass?
Use a hairdryer to heat the sticker, loosening the adhesive. Gently peel it off using a plastic scraper. Clean any residue with rubbing alcohol or vinegar for a spotless finish.
How Do I Remove Adhesive From My Car Window?
Use rubbing alcohol or a commercial adhesive remover. Gently rub with a cloth until the adhesive dissolves. Wash the area with soapy water and dry it thoroughly. Avoid using sharp objects to prevent scratches on the glass.
Conclusion
Removing stickers from car glass can be simple and effective. Just follow the steps carefully. Begin with gentle scraping to avoid scratches. Use soapy water or vinegar for stubborn glue. Heat from a hairdryer softens sticky residue. A razor blade helps with tough spots, used cautiously.
Finish with a glass cleaner for a clear view. Regular maintenance keeps your car windows spotless. With practice, the process gets easier. No more sticker worries on your vehicle’s glass. Enjoy the clear view and drive safely.
Related Article
- Car Kick Out Glass: The Ultimate Emergency Guide
- Headrest in Car to Break Glass: Essential Safety Hack
- Ceramic Glass Coating for Cars: Ultimate Shine Protector
- Do Transition Glasses Work in the Car? Discover the Truth

My name is Max langon and I am the founder of automothrone.com website. From this website, you will get automotive related information